
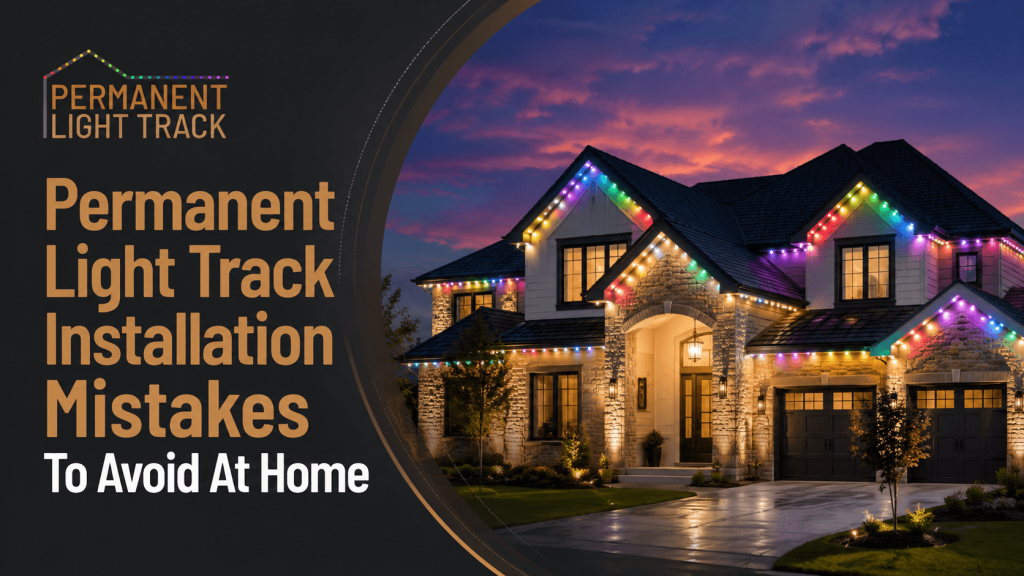
Permanent light track can make a home look cleaner, brighter, and more finished during every season. It can frame the roofline for holidays, add warm accent lighting on quiet evenings, and create color scenes for birthdays, game days, or neighborhood events.
The finished look depends heavily on the installation plan. A system can have strong lights and still look messy if the track placement, spacing, wiring, or controller location are rushed.
Homeowners get better results when they study the roofline first, plan each section, and think through how the system will look during the day and at night. A good installation should feel like part of the home, not something added without care.
Why Installation Planning Matters
Permanent light track stays visible year-round. That means the layout needs more care than a temporary holiday strand. A track line that looks uneven, exposed, or poorly placed can affect curb appeal long after the holiday season ends.
Good planning supports both appearance and performance. It helps lights stay evenly spaced, wires stay hidden, controllers stay accessible, and corners look clean from the street.
It also helps homeowners avoid buying the wrong amount of product or placing lights where they do not highlight the home’s strongest features.
Common Installation Mistakes At A Glance
| Installation Mistake | What It Can Cause | Better Planning Step |
| No Roofline Map | Confusing material estimates | Measure each visible section |
| Uneven Spacing | Choppy lighting from the street | Mark light positions first |
| Poor Track Placement | Visible hardware in daylight | Follow soffit and fascia lines |
| Messy Wire Routing | Cluttered exterior appearance | Plan hidden paths before mounting |
| Bad Controller Location | Hard access and weak control | Place it near power and protection |
| No Night Test | Missed dark spots or glare | Test before final fastening |
Mistake 1: Starting Without A Roofline Map
A roofline map is one of the simplest ways to avoid trouble. Before installation begins, homeowners should sketch the front of the home and mark every area that may receive lighting.
This map should include gables, straight runs, porch edges, garage sections, dormers, downspouts, corners, outlets, soffits, and power access points.
What To Mark Before Installing
- Main roofline sections
- Gables and peaks
- Garage rooflines
- Porch and entry areas
- Dormers and upper sections
- Downspouts and gutters
- Nearby power sources
- Controller location
- Wire transition points
A roofline map helps turn a rough idea into a clear project plan.
Mistake 2: Placing Track Where It Shows Too Much
Track placement affects the daytime look of the home. The best location often follows a shadow line beneath the soffit or along a clean fascia edge. If the track is mounted too low or too far forward, it can stand out when the lights are off.
The track should support the architecture. It should follow straight lines, clean corners, and visible roof shapes without drawing attention to itself during the day.
Color also matters. A track that blends with trim, soffit, or fascia can look much cleaner from the driveway.
Mistake 3: Ignoring Light Spacing
Uneven spacing is easy to notice at night. A few lights too close together near a corner or too far apart along a garage can make the whole display feel off.
Measure first. Mark light locations before fastening a full section. Step back from the home and review the marks from the street.
Spacing Details That Matter
- Keep spacing consistent on long runs
- Plan how lights meet at peaks
- Check garage sections from the driveway
- Keep corners clean and balanced
- Review spacing around porch areas
- Avoid crowding lights at transitions
Clean spacing gives the roofline a more polished look.
Mistake 4: Forgetting Corners And Transitions
Corners, roof peaks, and gaps between sections need extra planning. These areas often reveal poor layout decisions. Wire loops, awkward turns, and crowded light placement can make the system look unfinished.
Corners should be planned before track is mounted. The installer should know where wires turn, where the next light starts, and how the track will meet the next section.
A small test section can help homeowners see how light placement behaves around edges before the full project is finished.
Mistake 5: Choosing Products Before Planning The Fit
Permanent outdoor lights vary by style, brightness, control features, spacing, and track compatibility. The right product should fit the roofline plan, not create problems for it.
Homeowners who want smart color scenes and a clean track setup may consider Govee Permanent Outdoor Lights for roofline displays. Another strong choice for colorful exterior lighting is ASAHOM Permanent Outdoor Light, especially for homes that need flexible seasonal scenes. Homeowners building around smart control may also review Eufy Permanent Outdoor Lights for a sleek permanent lighting setup.
Product planning should happen with roofline measurements in hand.
Mistake 6: Poor Wire And Controller Placement
Wires and controllers should be planned early. A clean light display can lose its appeal when cables run across open siding or controllers sit in awkward spots.
The controller should be protected, easy to reach, and close enough to the starting point of the system. It should also sit near a safe power source.
Controller Placement Checklist
- Protected from direct rain
- Close to power access
- Easy to reach for service
- Near the first lighting section
- Away from water-prone areas
- Clear enough for dependable signal
- Hidden enough for curb appeal
Wire paths should follow trim lines, soffit edges, or other natural exterior breaks when possible.
Mistake 7: Skipping A Night Test
A system can look fine during installation and still have issues after dark. Night testing helps reveal glare, dark areas, uneven spacing, and colors that feel too bright near windows.
Test the lights before final fastening. View the home from the sidewalk, driveway, and street. Check how the roofline looks from the angles guests and neighbors will see most often.
Night testing gives homeowners a chance to make small changes before the system becomes harder to adjust.
Homeowner Planning Checklist
Before installing permanent light track, review the project from start to finish.
- Measure every roofline section
- Count corners, peaks, and gaps
- Choose track color with trim in mind
- Plan wire paths before mounting
- Pick a safe controller location
- Test a small section first
- Review the layout from the street
- Check the system at night
- Keep future maintenance access in mind
A clear checklist helps prevent rushed choices.
Final Thoughts On Installation Mistakes
Permanent light track can make a home look clean, festive, and welcoming year-round. The strongest results come from planning the layout before the first section is installed.
Homeowners should measure carefully, keep spacing consistent, hide wires, protect controllers, and test the system at night. With the right planning, permanent outdoor lighting can look polished from the first evening and stay attractive through every season.

